The Sites Visibility solution supports integration of third-party IP cameras that are enabled with Real-Time Streaming Protocol (RTSP) and H.264 Video Compression. For questions on third-party camera feature support and specifications, refer to the datasheet for the camera (provided by the manufacturer) or contact the manufacturer for support.
For compatible third-party IP cameras, you can add them to the Samsara dashboard.
Before you can add a third-party IP camera, locate the username and password for the camera. These are generally either defaults listed in the camera's user manual or were set by the installer who initially configured the cameras. The system will also attempt to automatically identify the correct RTSP URL for the camera, but you may need to look it up in the camera's user manual if unsuccessful.
-
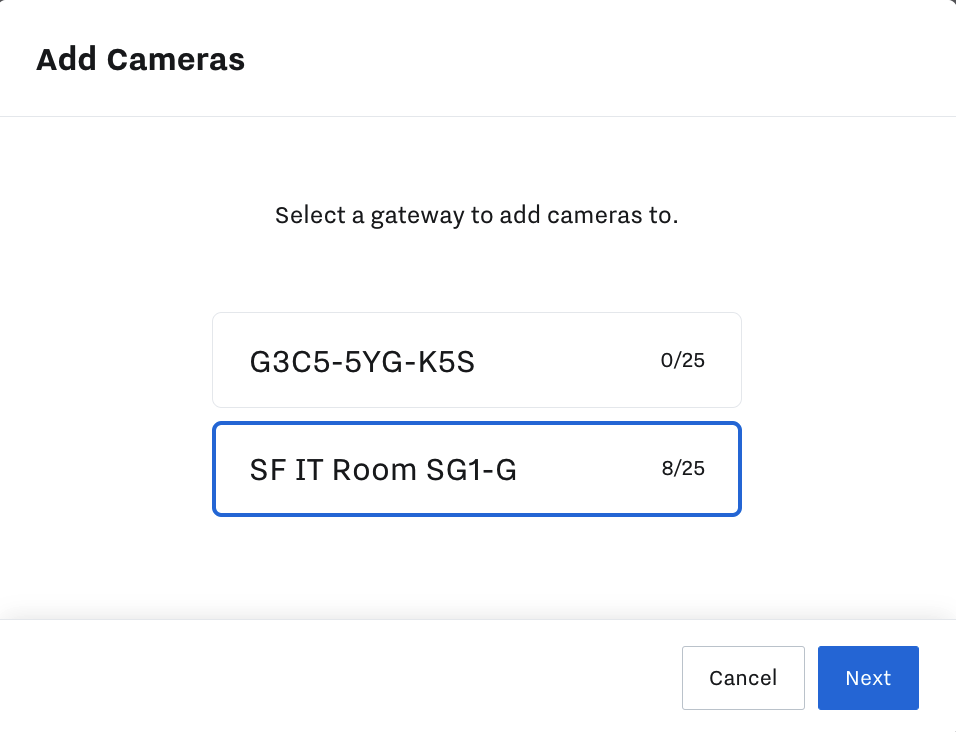
From the Sites Dashboard, select Streaming > Add a camera.

-
Select the Site Gateway to which you want to add one or more cameras, and then click Next.

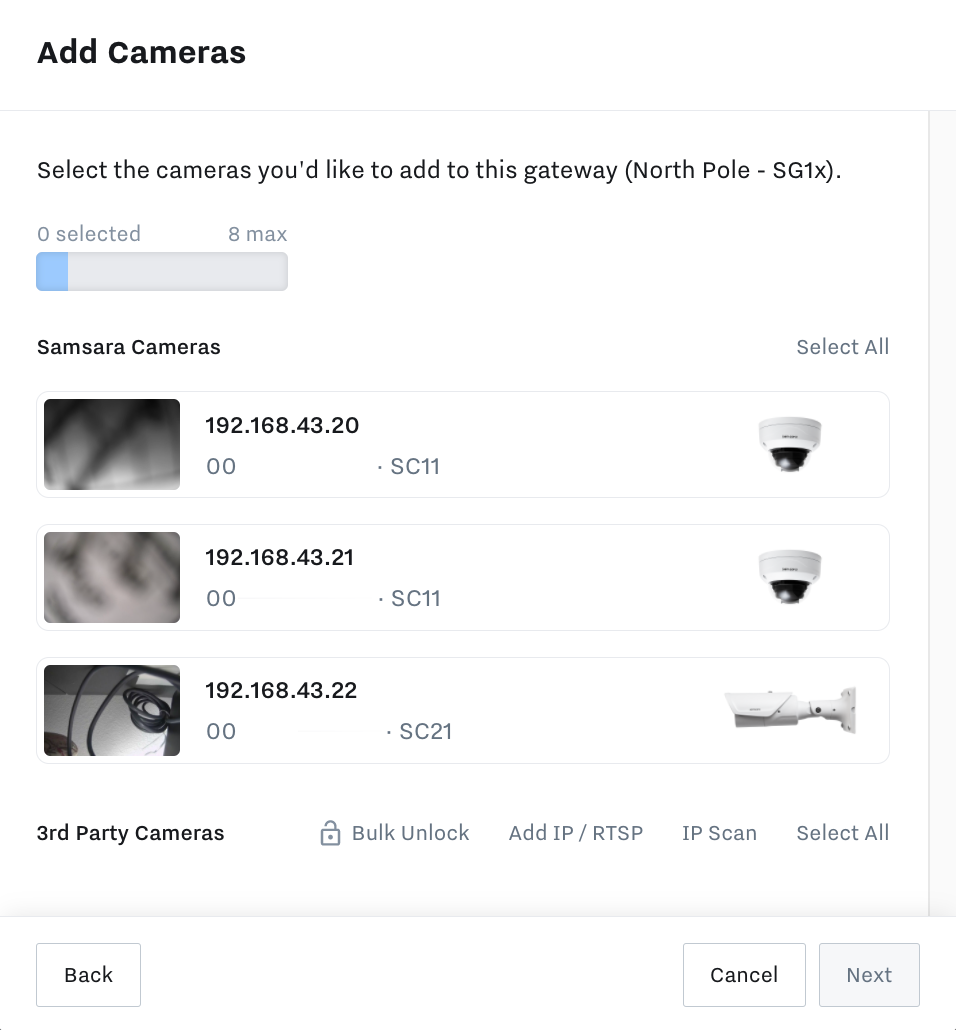
Samsara begins the camera discovery process which can take up to 20 seconds to complete. Results will categorize cameras by vendor type (Samsara or third-party) and identifies any cameras that were already added. If the discovery process does not identify your cameras, you can Manually Add a Third-Party IP Camera.
-
To add all third-party cameras in bulk, you can Bulk Unlock the cameras by supplying the credentials and then Select All. The credentials must be the same across all the cameras to add them in bulk. Otherwise, to add cameras individually:

-
Select it and then enter the Username and Password for the camera.
-
Click Done.
Samsara attempts to validate the camera using the provided credentials and default RTSP URLs. If Samsara cannot identify the RTSP URL, enter the URL under Show advanced options. You can click Preview to test the RTSP before proceeding.
Note
If you receive an authentication error, contact Support (sites-support@samsara.com).
-
Repeat the process to add any additional cameras.
-
-
Click Next to add all selected cameras.
-
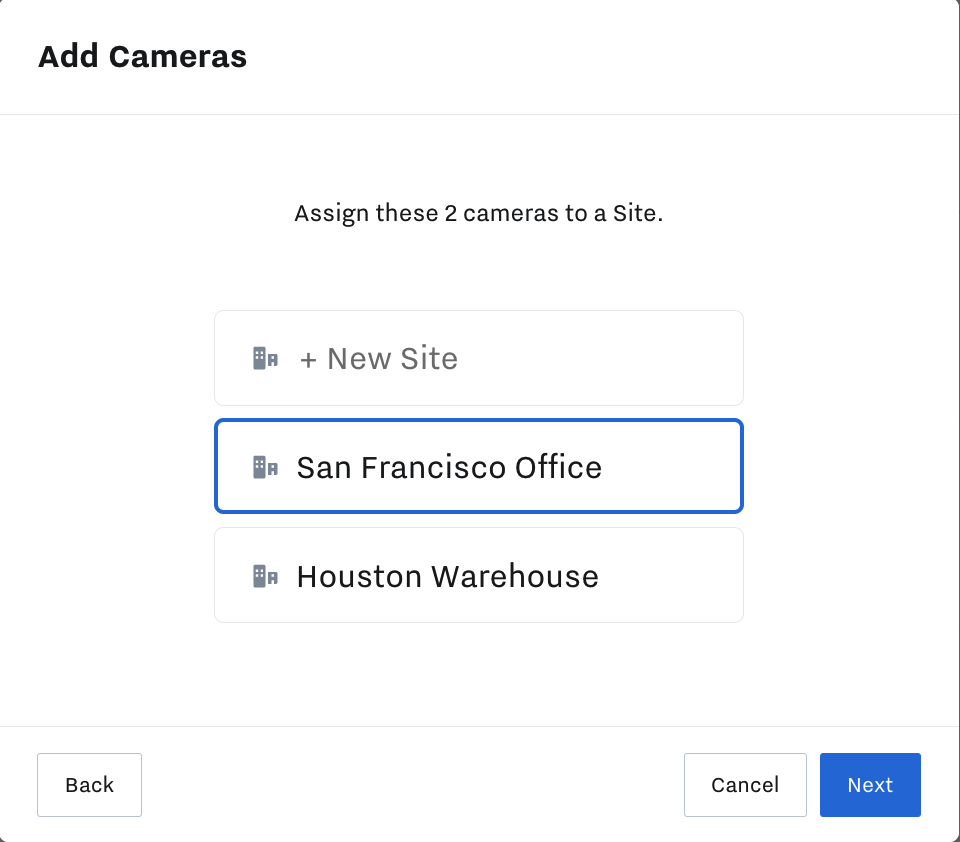
(Optional) Select an existing site to which you want to add the selected cameras and then click Next. You can also create a New Site.
If you choose to create a new site, you are prompted to name the site and provide a physical address.

-
(Optional) Assign a name to each added camera, or skip to use the IP address as the camera name.
-
Click Add Cameras to complete the process.
